Hello there, so you’ve recently bought a fish tank, or have somehow figured out that the tank you have should probably get cleaned. We have just the right information for you. When people hear that you keep fish, they probably envision a crusty, algae-coated tank with scarcely visible fish inside. This may be true at the moment, no judgment here.
However, by following a few simple measures, you can keep the aquarium appearing as if it were a work of art. Read along as we share our effective fish tank cleaning tips and tricks. Enjoy your reading!
Table of Contents
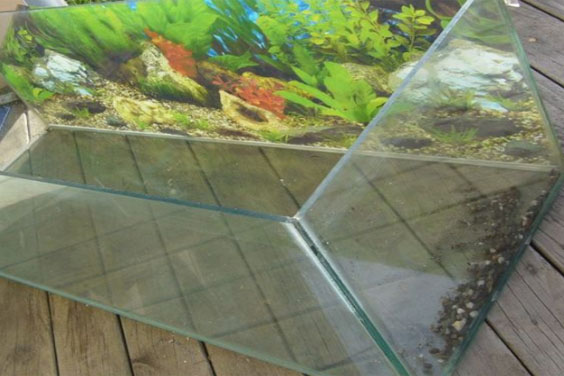
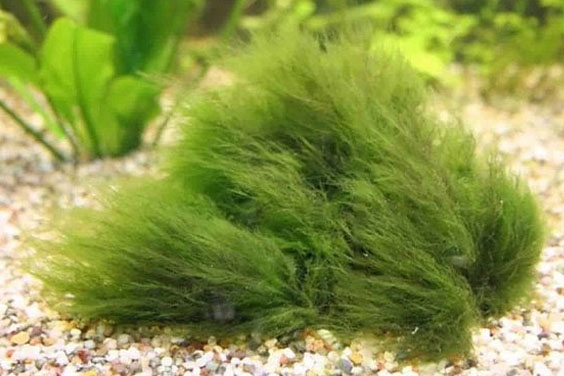
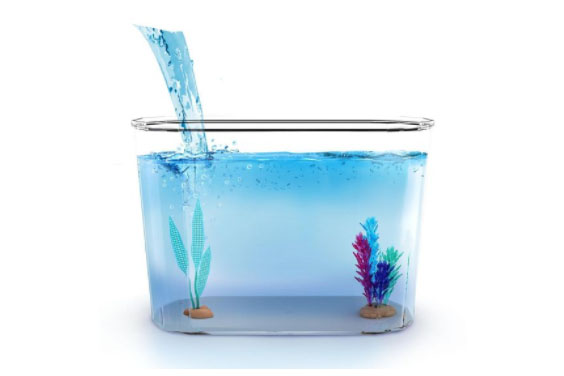
Preliminary Information
Source: Pinterest
Before we dive into the how-tos of fish tank cleaning, let’s first discuss a few things you should probably know;
How Often Does Your Fish Tank Need Cleaning?
Cleaning the fish tank once a week is recommended by some, while once a month is suggested by others. The correct answer would be that it depends! The length or width of your tank, the number of fish you keep, and the amount of biological filtration and fish tank filtration you have installed.
Removing Fish from the Tank
This depends on the stage. If the fish tank is a recent purchase, then you should not have any fish in it. However, if you have neglected the tank for a while now and the fish probably died in there, then you will need to flush out everything. But on a normal day, it is not necessary that you drain the water or remove the fish from the aquarium. Just slowly clean around the little guys.
Putting Back the Fish
This traditional recommendation stems from the idea that municipalities often add chlorine to tap water (which is toxic to fish). However, the chlorine can evaporate if the water is left out for 24 hours. Chloramine (a more soluble form of chlorine) is commonly found in tap water these days, but it does not evaporate. Instead, you’ll need to use a water conditioner to keep the water fish-safe, and so you can use the dechlorinated water right away in your fish tank.
A scraper for removing algae from glass or acrylic
An attachment for an algae scraper blade (for glass or acrylic)
A brush for cleaning algae from plants or decor.
Plant pruners (scissors)
Dechlorinating agent (a.k.a water conditioner)
A cleaner for the glass
A towel for wiping off water spills.
A paper towel
A siphon for aquariums.
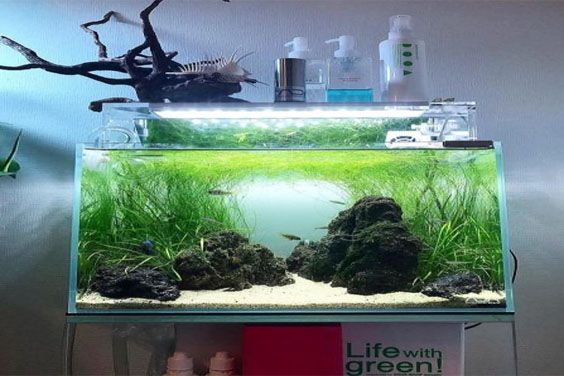
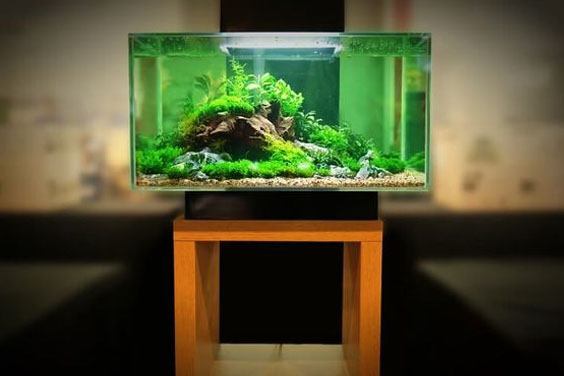
Maintenance Guide
Source: Pinterest
Follow these guides to ease the cleaning burden at the end of the month;
1. Daily Maintenance
These regular tasks will only take a few minutes but will make a huge difference in keeping your tank safe.
Feeding your fish twice each day, and after 5 minutes, remove any uneaten food.
Examine all of the fish in your tank (are they all acting normally, are there any accidents, and are they disease-free?).
Check the water’s temperature as well as its exact gravity
2. Weekly Maintenance
Water: pH, nitrate, nitrite, and ammonia levels, as well as salinity, are all tests that should be performed on the water (in saltwater tanks). You can get your water checked at your local fish store or simply purchase a home testing kit. The home kit is a color-coded strip of paper that helps you assess the levels in your tank.
Equipment: Check the equipment for any issues, such as the filter and lights. This is just a fast check to make sure everything is in working order; the rest can be completed during the tank cleaning.
Cleaning the Fish Tank
Source: Pinterest
With that in mind, let’s get into the actionable steps towards executing effective fish tank cleaning. Always remember to go through this guide before you start cleaning your fish tank and with time you’ll have the process on your fingertips. Enough said, here are the steps;
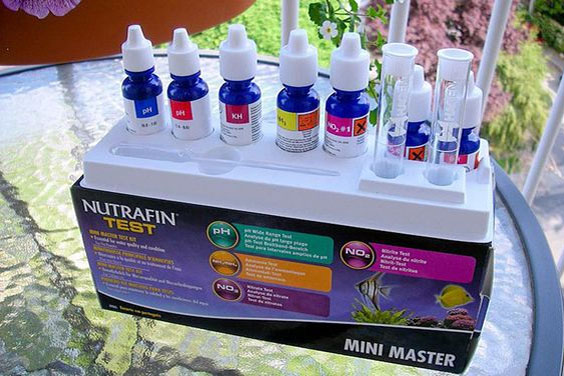
1. Water Quality Testing
Source: Pinterest
If your fish tank is brand new and hasn’t been cycled yet, analyze the water to see if it contains nitrites, ammonia, and nitrates. Fish could be poisoned by elevated amounts of these waste compounds. If your aquarium has already been cycled, the aim is to maintain nitrate levels below 40 parts per million (ppm). To decide how much water should be extracted, use a water test kit to measure the nitrates.
Let’s take a look into some of these elements you should test for while cleaning the fish tank;
Ammonia: This is the most hazardous element to test for in a fish tank. It comes from fish waste and uneaten food and is the first component of your tank’s nitrogen cycle. You want the ammonia level in your aquarium to be 0.0ppm or undetectable, whether it’s a freshwater aquarium or a saltwater one. Much higher than that, and the water can be poisonous to your fish, necessitating the use of an ammonia removal device.
Nitrite: Nitrites are the second component of the nitrogen cycle. They’re generated by the normal bacteria in your tank breaking down ammonia. Nitrites are poisonous and should be held at a concentration of less than 0.0ppm. Use a conditioner for the containment of this component.
Nitrate: This compound is not especially harmful to fish, but it can become toxic if levels increase, putting the inhabitants of a tank under stress. Nitrate levels in freshwater fish tanks should be less than 40 parts per million. Acceptable levels differ by saltwater habitat, but they are typically lower. Nitrate levels can be kept low by using the right filter media and changing the water on a regular basis.
pH: Depending on the type of fish you hold, different pH levels are recommended. Many freshwater fish can survive in water with a pH of 6.5 to 7.5, whereas saltwater fish thrive in water with a pH above 8.
General Health: This involves checking for the appropriate fish tank temperature, depending on whether the tank water is fresh or salty.
Having checked for this you can now proceed to the next step of the fish tank cleaning process.
2. Algae Removal
Source: Pinterest
Scrub the tank walls with an algae scraper to ensure a clear view of our fish. If you have the blade attachment, slicing through any tough algae spots should be a breeze. Just be careful not to trap any substrate underneath the algae scraper, otherwise, the glass or acrylic will be scratched.
If algae has accumulated on the lid, it is simple to remove by rinsing it in the sink. (If you use soap, your fish could be harmed.) Finally, if algae have encrusted your aquarium decorations, rocks, or plants, gently brush it away with a clean toothbrush, either over the sink or in the aquarium.If this sounds a bit vague for you, here are the things you should take into consideration for algae removal;
To collect waste and debris from the gravel, use a siphon.
Filters in the aquarium should be rinsed with cool water. Avoid soap.
Add supplementary powerheads or a higher-rated filter to increase water flow.
Reduce fish feeding to once every other day or less.
Replace light bulbs that are more than 6 months old since their light spectrum shifts with age, favoring algae growth.
Remove the nitrates with a nitrate remover. Nitrates are an important source of food for algae and a common cause of algae outbreaks in aquariums.
Phosphates must be removed.
Avoid using vitamins and fertilizers from your fish tank.
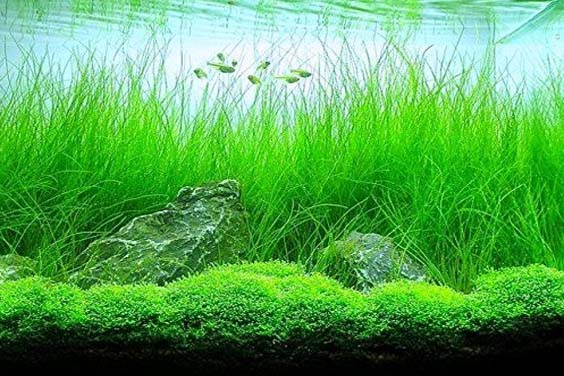
3. Pruning the Plants
Source: Pinterest
One of the most important parts of fish tank cleaning is trimming the vegetation. If you have live aquarium plants, now is the time to cut down overgrown fish tank vegetation and clear any dead leaves. You can quickly replicate tall stem plants by clipping a few inches off the tops and transplanting them into the substrate. Take out the little runners and relocate them if your Vallisneria or dwarf Sagittaria are growing in undesirable places.
Finally, if floating plants have fully covered the water surface, remove around 30% to 50% of them to enable the plants below to receive adequate light and the fish to receive adequate oxygen. A more comprehensive guide for executing fish tank vegetation trimming would require you to;
Trimming and replanting the longest shoots above the bottom leaves after which you replant them to other parts of the aquarium.
In order to achieve rapid new growth, the bottom layer and moss are trimmed backwards like a lawn.
Trimming Echinodorus, bulbs, and tubers involves removing the rosette’s outer leaves as well as any leaves that cast shadows on the soil.
Remove the yellow or damaged leaves from Cryptocoryne. Remove whole plants from the community when it becomes too thick.
Stolons are trimmed if they encroach on nearby plants. From time to time, stolons may be used to replace the oldest plants.
Rhizome plants are plants that grow slowly. When the plant gets too tall, the rhizome stem is trimmed between a bunch of leaves. From the leaf base, new shoots will emerge.
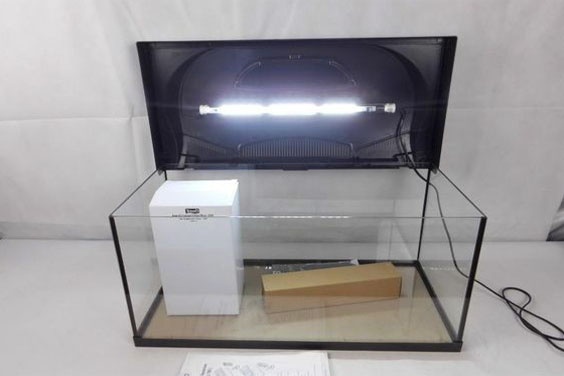
4. Turn off the Equipment
Source: Pinterest
Make sure all the equipment is turned off or unplugged before draining any water. Aquarium heaters and filter equipment were not designed to function without water, and as a result, they could be damaged when used in dry air.
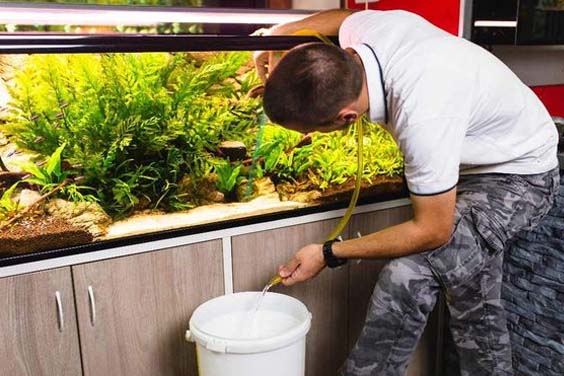
5. Substrate Vacuuming
Source: Pinterest
Aquarium siphons work by sucking water and debris out of your fish tank using gravity. Make sure the siphon hose side is in the bucket before starting it. The tube should then be fully submerged inside the tank and filled with water. Hold the tube at a diagonal angle with the tube opening pointing upwards to accomplish this.
Vacuum roughly one-third of the substrate with your handy aquarium siphon. Since debris tends to accumulate underneath decorations and hardscape, move the decorations to facilitate the collection of the substrate. Not only does the siphon remove fish waste, food waste, and dead leaves from the gravel or sand, but it also removes older tank water and the excessive nitrates inside it.
6. Cleaning or Replacing the Filter
Source: Pinterest
When it comes to fish tank cleaning, chances are you already have some kind of procedure or schedule in place. You probably perform a larger water change once a month and upgrade your filter media in addition to weekly water changes. When do you clean your fish tank filter, on the other hand? Do you ever vacuum it? You must include your aquarium filter in your daily cleaning plan if you’d like to keep your tank clean and functioning efficiently.
Many beginners imagine filters as a bottomless pit where fish poop and waste vanishes into thin air. In fact, filters are more like rubbish bins that collect waste, but someone is still accountable for emptying the rubbish bin at the end of the day. Filters store fish waste in the same way, but they must be cleaned regularly to eliminate any of the gunk before they get clogged or overflow.
Although cleaning does work, you should replace your fish tank filter media once every three to four weeks. This requires that you purchase bulk fish tank filtering media for it to remain economically viable.
7. Water Refill
Source: Pinterest
After that, you can top up the fish tank with new, clean water that is the same temperature as the current aquarium water. Since hands may monitor temperatures to within one or two degrees, simply change the faucet until the tap water feels the same warmth. We got a list of tap brands for your option.
Flush the bucket with tap water after emptying the old tank water. Dechlorinator can be added to the bucket (dosed based on bucket capacity) or directly to the aquarium (dosed based on fish tank capacity). You may also apply liquid fertilizer and/or root tabs to the substrate at this time.
The key takeaways for refilling your fish tank are;
Always ensure the water is safe for the fish
Use the right water temperature(room temperature for coldwater aquariums and tank temperature for tropical fish tanks)
Avoid overfilling the fish tank; do not fill past the fill line marked on the aquarium.
8. Equipment Can Be Turned on at This Point
Source: Pinterest
Even though you just put all this time washing the tank, with all that particulate overshadowing the water, it looks messier than ever. Simply switch on the heater and filter once more, and the residue will settle or be sucked up by the filter within 50 to 60 minutes or more.
9. Wiping the Glass
Source: Pinterest
Clean the dust that has accumulated on the lid, lamp, and aquarium stand as well. Execute the fish tank glass cleaning in the following order;
Clean the glass interior first
Take care of any decorations that might be leaning on the glass.
Clear our the gravel lying on the glass edges
Wipe up the exterior parts of the fish tank
The Bottom Line
It’s important to clean a fish tank properly if you want to keep your fish happy and safe and your fish tank looking its best. A clean fish tank will benefit your fish’s health and increase the efficiency of water filtration. Now remember that you need to repeat these steps severally before you have these steps part of your fish tank care routine. So be sure to keep coming back to this article as a reference.
Now you have an aquarium that is truly Instagram-worthy and ready to impress your friends and family!


Leave a Reply