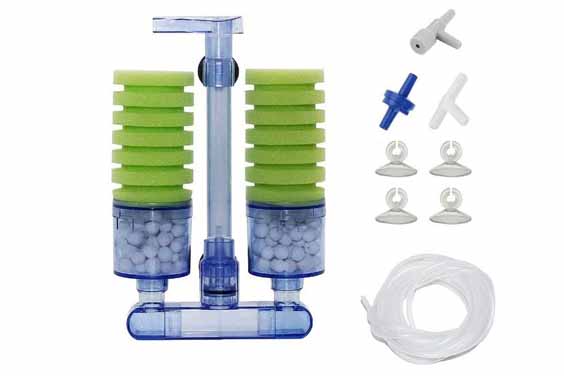
A sponge filter is the simplest form of all aquarium filters; they consist of three parts; a sponge filter that is placed inside the tank, an air pump that is located outside the tank, and an airline tubing that connects the two. One of the things that make a sponge filter the ideal cleaning material for your aquarium is that they are cheap and they do allow for modifications to be made.
We’re going to explore how sponge filters are set up, how they work, and why you need to have them in your aquarium.
Table of Contents
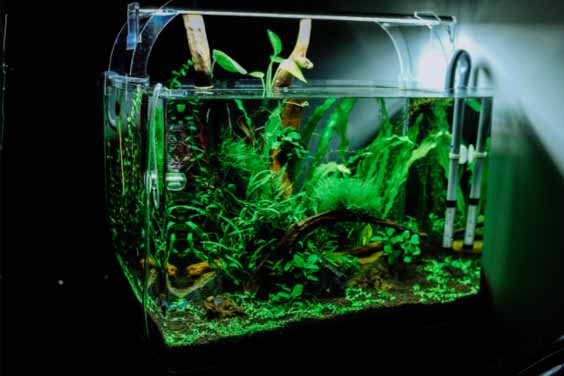
How to set up a Sponge Filter
Source: Shopify
Setting up a sponge filter inside your aquarium is simple and something that you can do on your own without having to hire a pro. You can set it up through the following quick steps.
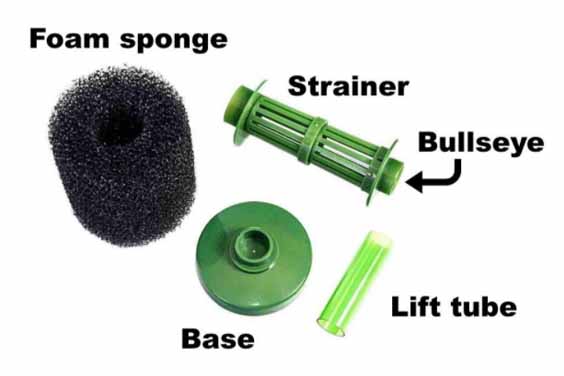
STEP 1: Take the sponge filter apart and remove the plastic strainer from inside the foam. Spreading everything on the table like this is how you check if anything is missing. A single missing piece will cause the whole structure to fail.
STEP 2: The next step would be to detach the bullseye from the top of the strainer and replace it with an airstone at the bottom of the strainer. Then connect the air stone to the center of the bullseye through the use of an airline tubing of short length. Sometimes the sponge filter may be too small for tubing to fit in; in that case, just connect the airstone directly to the bullseye.
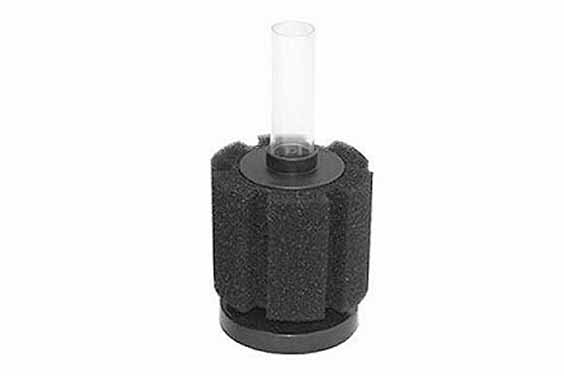
STEP 3: Next up, attach the bullseye back onto the strainer and return the strainer into the foam. To make sure that the foam stays at the bottom, connect the strainer to a weighted base that usually comes with the sponge filter. Sponge filters work best from the bottom, where most of the contaminants tend to settle.
STEP 4: Now take the lift tube from one end of the airline tubing and attach it to the center atop the bullseye. Snap the lift tube securely onto the bullseye to stop anything from coming off once the filtration process begins.
STEP 5: Emerse the now assembled sponge filter into the aquarium and squeeze out air bubbles that may be trapped inside the foam. This is to make the filter foam sink to the bottom, something that cannot be possible if there’s some air trapped within it.
STEP 6: Now, turn your attention to the air pump. You can make necessary cuts to the airline tubing to a length that will be sufficient enough to reach the sponge filter inside the water. Once you have attained the right length, connect the air pump to the sponge filter.
STEP 7: The positioning of the pump is important. If it is located below the top of the tank, it means that the water will be flowing back into the airline tubing when the pump is off. To stop this, you\ll have to install a check valve to stop this backflow. Always ensure that the end of the check valve, which is usually indicated by a colored horizontal line, is facing the direction of the air pump.
STEP 8: Wrap up everything with the addition of a drip loop to the power cable running the air pump; this is to stop moisture from coming into contact with the power cable as that could be disastrous. Once you have that covered up, simply tune on the air pump, you should see bubbles emanating from the sponge filter almost immediately. That’s the sign that the setup is a success.
Cleaning the Sponge Filter
Cleaning the sponge filter is also not complicated like other filter media setups. It also never requires a monitoring system, but once in a while, it is good to take it out for some cleaning to make the aquarium much safer. One sign that the sponge needs cleaning is when you see a decrease in the number of bubbles coming out. This can be rectified in the following steps.
Disconnect the bullseye first before taking the sponge apart to access the filter foam inside; that is the part that requires cleaning the most.
Use a plastic bag to take the foam from the water; never dip your hands into the water as this could add to the contamination.
With the foam out,m wring and squeeze it well in another bucket of water. Do this several times until you start seeing clean water.
Reassemble everything up and return it back into the aquarium.
If you still see particles floating in the water, don’t fret, just give it some time, and the sponge filter will get rid of them eventually.
Cleaning should be limited to once a month, twice at most. When you clean the sponge too frequently, you’ll be getting rid of beneficial bacteria that play a very important role in biological filtration.
Why you Should Consider a Sponge Filter
Source: Pinterest
If you have a medium-sized to small aquarium in your house, it is time you switched to a sponge filter as an option for keeping your tank clean at all times. The following are some of the reasons why this switch is good for you.
They are Cheap
Source: Pixabay
Sponge filters are among the cheapest forms of filter media in the market, and this is what you need in your life right now, considering how expensive having an aquarium can be. Not only do they cost close to nothing, but they also allow as many modifications as you may want. You can literally add carbon filtration and convert a single sponge filter into a 3-stage filtration system.
They Handle Power Outages Well
Source: Pixabay
Some sophisticated filtration systems cannot work without power, and when there’s an outage, anything in the fish tank could be in trouble since the cycle of oxygen comes to a halt. A sponge filter, on the other hand, has a larger surface, which gives home to more bacteria that can continue doing what they do even when there’s no power. This is a very convenient feature.
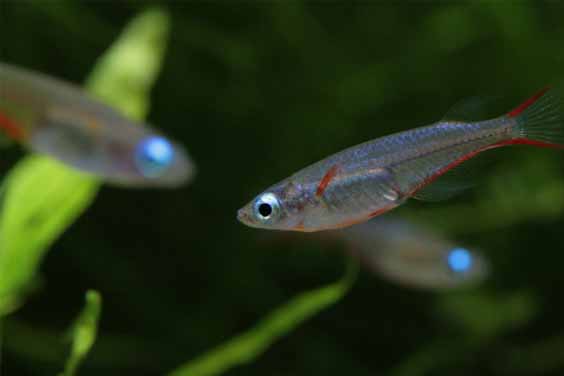
No Strong Currents
Source: Pixabay
Sponge filters work in quiet environments where the flow of water is gentle. This makes them the best option for fish that love serene water conditions. The reason why big aquariums with powerfulair pumps never keep small fish is that they keep getting overwhelmed by the current and get sucked up the tubes, killing them. With sponge filters, that’ll never happen. You can even slow down the currents further by the simple addition of a pre-filter sponge.
2-in-1 Filtration
Source: Pinterest
Although they never support chemical filtration, you can always take consolation in the fact that they can handle biological and mechanical filtration at the same time at no added extra cost. They also work well with other filtration materials like ceramic rings and carbon balls. This is reason enough to switch to a sponge filter.
Conclusion
Setting up a sponge filtration system is pretty straightforward, something that you can handle on your own within hours. There are many types of sponge filters in the market, and you need to be careful when shopping for one. Make comparisons to narrow down to the one that will suit your tank well. If you still have questions on sponge filters, feel free to get in touch with us, and we will address all your concerns to the best of our abilities.

Leave a Reply